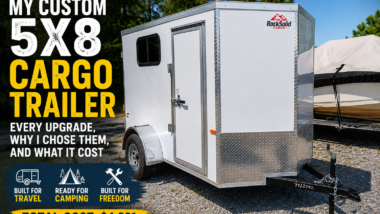
When I purchased my 5×8 cargo trailer, I knew it would eventually become a simple camper conversion for travel and minimalist living. However, before focusing on comfort upgrades, storage solutions, or interior improvements, I wanted to address something far more important: safety.
Many cargo trailers leave the factory in a basic configuration that meets minimum legal requirements. While there’s nothing wrong with that, I quickly realized there were several inexpensive upgrades I could make to improve visibility, increase safety, and provide additional peace of mind while towing.
This article covers the safety improvements I made during and immediately after the ordering and pickup process, along with the reasons behind each decision.
Why Safety Should Come Before Convenience
It’s easy to get excited about beds, storage systems, solar panels, and other camper conversion projects. However, none of those upgrades matter if your trailer is difficult for other drivers to see or if your towing setup isn’t properly prepared for highway travel.
A cargo trailer is often narrower and shorter than many RVs, making visibility especially important during nighttime driving, rain, fog, and heavy traffic conditions.
My goal was simple:
- Make the trailer easier to see.
- Make towing safer.
- Reduce the chances of accidents.
- Improve confidence during long-distance travel.
Fortunately, most of these improvements were affordable and easy to install.
Adding DOT Reflective Tape
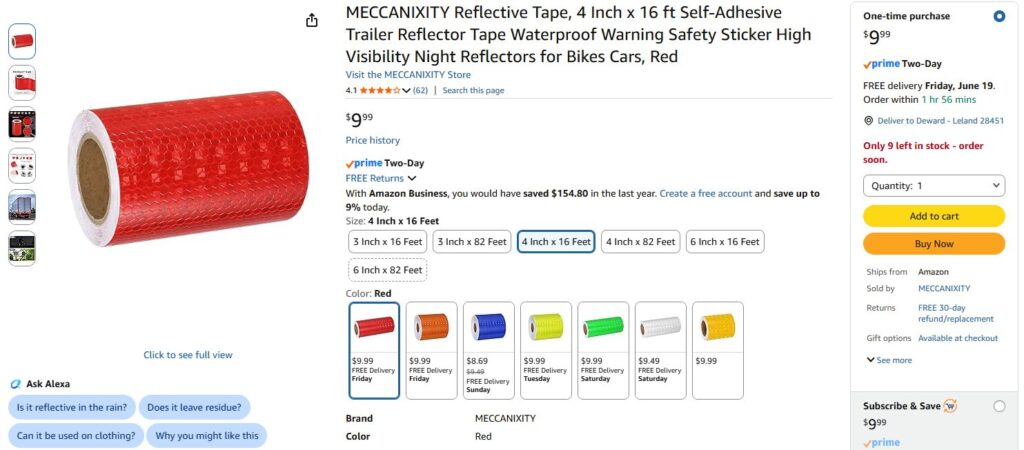
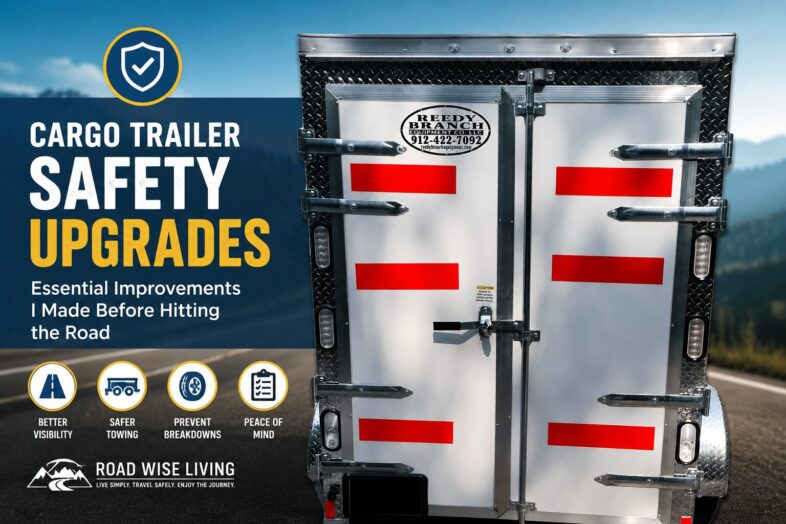
The most noticeable upgrade was the addition of DOT-approved reflective tape.
Many commercial trailers use reflective tape extensively because it dramatically increases visibility after dark. When headlights hit reflective tape, the trailer becomes much easier for approaching drivers to identify.
I installed reflective tape on several areas of the trailer, including:
- Rear cargo doors
- Rear corners
- Side panels
- Entry door area
The difference is significant.
During daylight hours, the tape is clearly visible and helps define the trailer’s shape. At night, it reflects brightly and makes the trailer stand out from a much greater distance.
For a relatively small investment, reflective tape provides one of the best safety returns available for trailer owners.
Benefits of DOT Reflective Tape
- Improves nighttime visibility
- Makes trailer dimensions easier to judge
- Helps drivers recognize a trailer sooner
- Increases safety during roadside stops
- Adds visibility during rain and fog
- Provides a more professional appearance
If I could recommend only one safety upgrade for a new cargo trailer owner, reflective tape would be near the top of the list.
Improving Rear Visibility
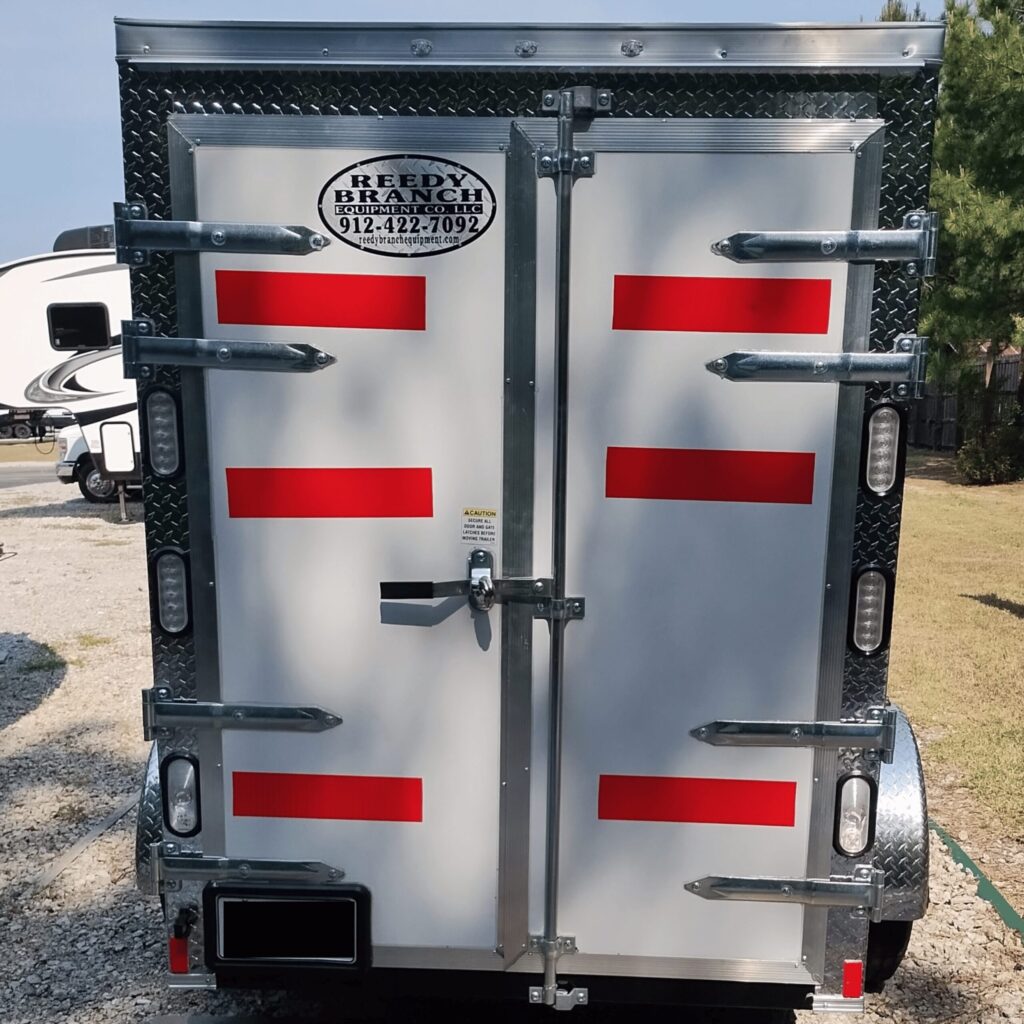
The rear of any trailer is one of the most critical areas for visibility.
Drivers approaching from behind need to quickly recognize:
- The width of the trailer
- The height of the trailer
- The location of the doors
- The trailer’s overall presence in traffic
By adding reflective tape across the rear doors, I created large visual markers that make the trailer much easier to identify both day and night.
The photos show how the tape creates strong horizontal reference points across the back of the trailer.
Even in daylight, these markings help the trailer stand out.
Increasing Side Visibility
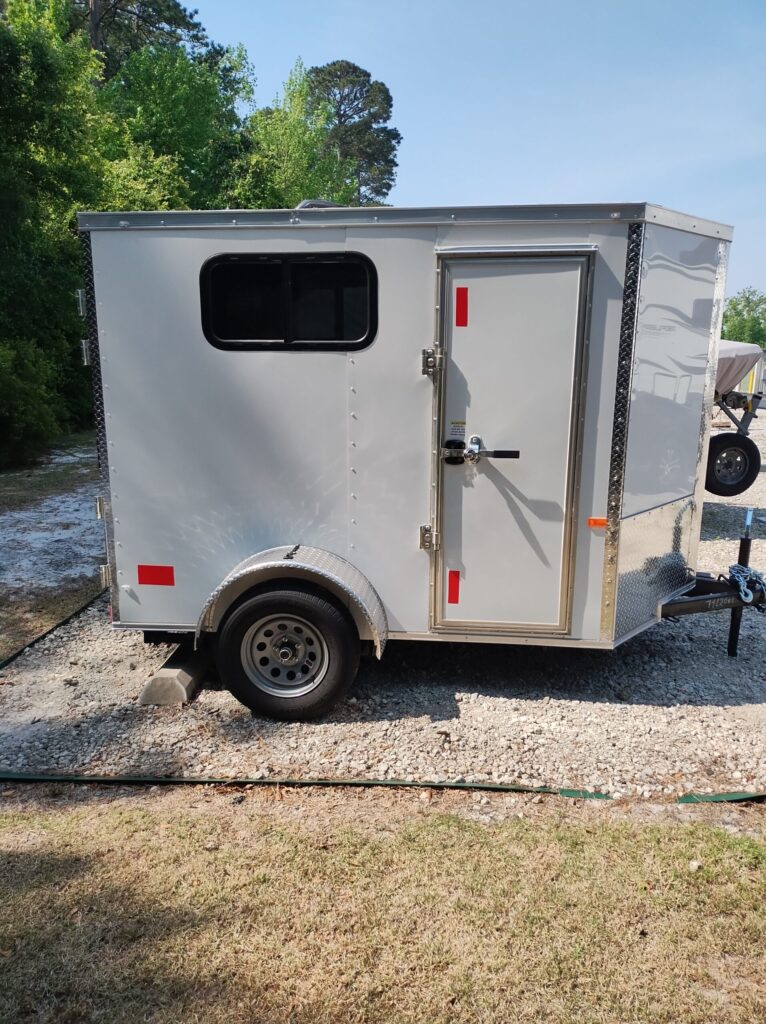
Side impacts can be a concern when changing lanes, entering highways, or navigating busy parking lots.
To help improve side visibility, I added reflective material to areas that are visible from approaching traffic at an angle.
Many drivers don’t realize how difficult it can be to see an unmarked trailer after sunset.
Reflective surfaces help other drivers identify the trailer sooner and judge its location more accurately.
Checking the Lighting System
Before leaving the dealership, I had planned to perform a complete lighting inspection. Because they changed the 4-Pin Connector to a 7-Pin Connector, I upgraded to the Dual Tail Lights and Reverse LED Lights that caused this change, but no one told me this, and I did not find out until I arrived to pick up the trailer.
So, although I was unable to verify this myself, below is my plan so that you can do this for yourself before leaving the manufacturer’s lot.
This includes verifying:
- Running lights
- Brake lights
- Turn signals
- Hazard lights
- License plate illumination
- Side marker lights
Although new trailers should be functioning properly, it’s always wise to verify everything before driving away. I was lucky that all of these actually worked perfectly once I was able to acquire the proper 4-Pin to 7-Pin adapter once I arrived home.
Electrical connector issues are much easier to address in the dealer’s parking lot than on the side of the highway.
Inspecting Tires Before Travel
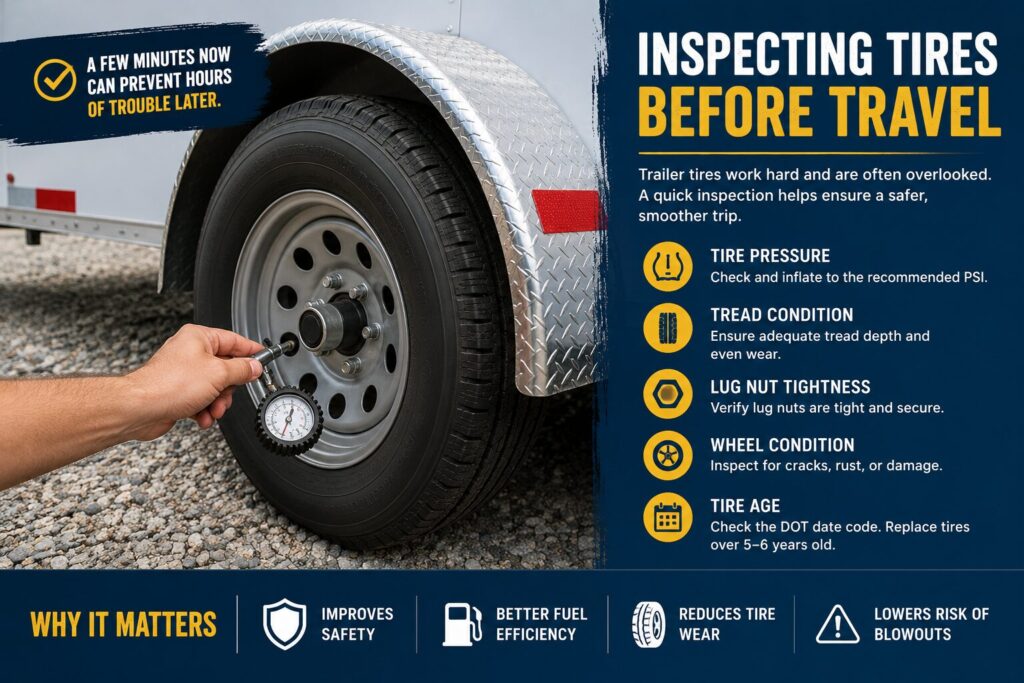
Trailer tires often receive less attention than vehicle tires, but they deserve just as much consideration.
Before beginning any long-distance travel, I checked:
- Tire pressure
- Tread condition
- Lug nut tightness
- Wheel condition
- Manufacturing date codes
Proper tire inflation helps:
- Improve fuel economy
- Reduce tire wear
- Enhance towing stability
- Lower the risk of blowouts
A few minutes spent checking tires can prevent hours of frustration later.
Verifying Hitch and Coupler Security
Every towing trip starts with the hitch connection.
Before every trip, I verify:
- Coupler fully seated
- Latch secured
- Safety pin installed
- Safety chains crossed underneath & secured properly
- Electrical connector attached
- Breakaway cable properly routed (if equipped)
- Trailer jack fully raised
This inspection only takes a minute or two, but it can prevent serious problems on the road.
Developing a Walk-Around Routine
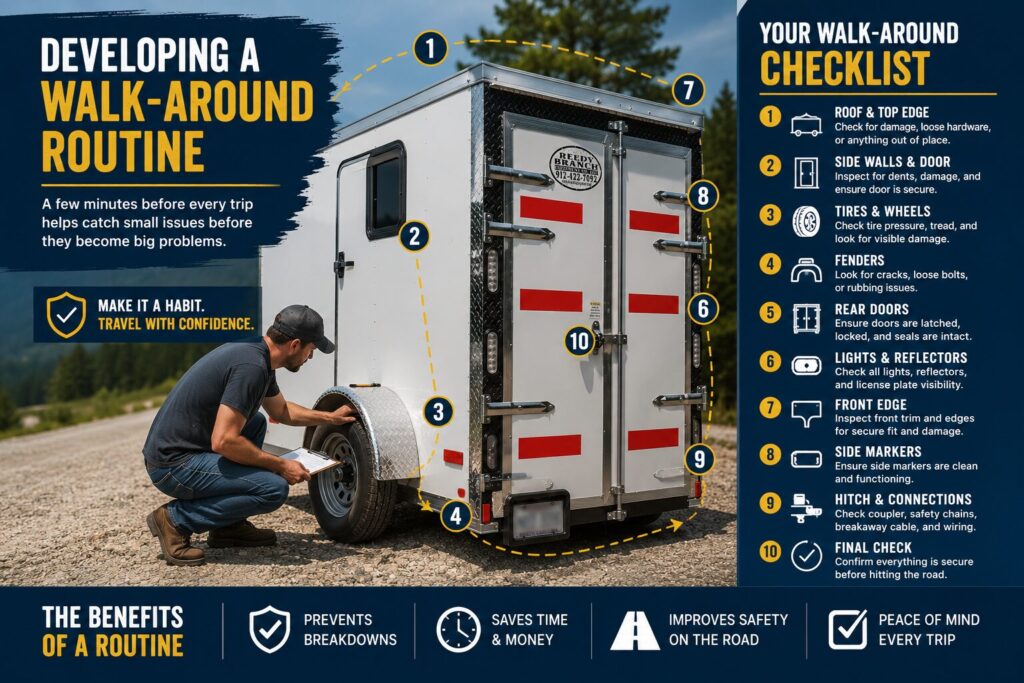
One habit I have developed is performing a complete walk-around inspection before moving the trailer.
This includes checking:
- Lights
- Doors
- Locks
- Hitch connection
- Safety chains
- Tires
- License plate
- Loose cargo
- Roof vent position
This simple routine helps catch small issues before they become major problems.
Lessons Learned During Pickup
One advantage of personally picking up a trailer rather than having it delivered is the opportunity to inspect everything firsthand.
During pickup, I was able to:
- Verify build quality
- Inspect seals and trim
- Test lights (I was not able to do this as described above)
- Check doors and locks
- Review tire condition
- Confirm dimensions
- Ask questions directly
That experience gave me confidence that everything, except the lighting, was functioning correctly before beginning the trip home.
Small Investments, Big Safety Benefits
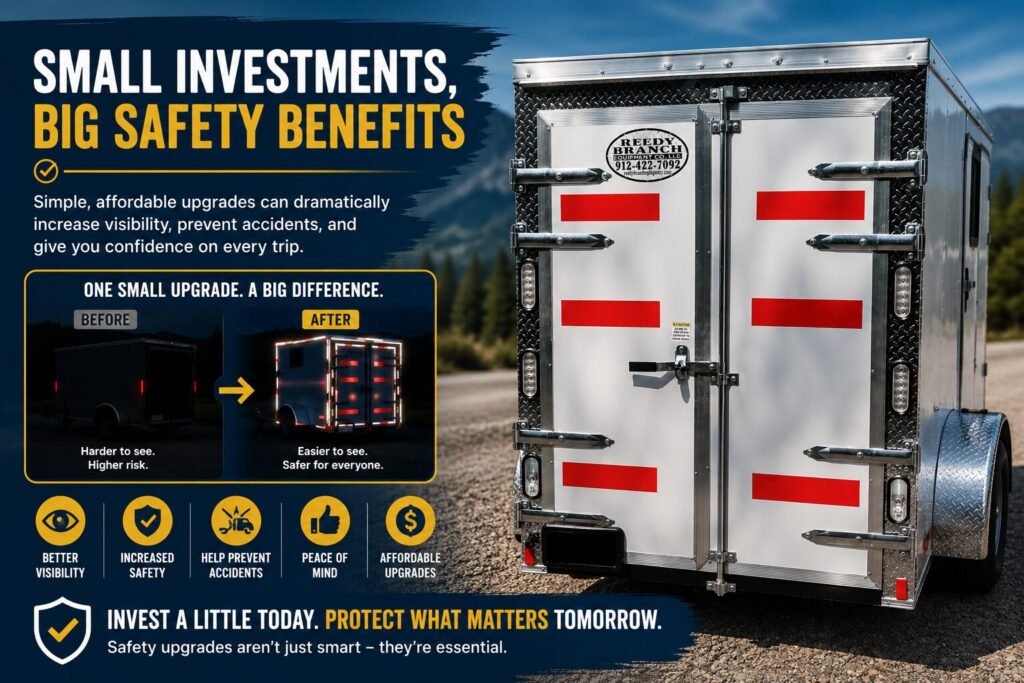
One lesson I’ve learned throughout this process is that safety upgrades don’t have to be expensive.
The reflective tape shown in these photos costs very little compared to the value it provides.
Many trailer owners focus on comfort modifications first, but I believe safety should come before convenience.
The upgrades I’ve completed so far help make the trailer:
- More visible
- Safer to tow
- Easier for other drivers to identify
- Better suited for future travel
As this cargo trailer camper conversion continues, safety will remain a priority alongside comfort and functionality.
Final Thoughts
Building a cargo trailer camper is an exciting project, but every successful build starts with a safe foundation.
Before adding solar panels, beds, storage systems, or camping equipment, take time to evaluate the trailer itself. Improving visibility, checking towing components, and establishing safe inspection habits can significantly improve your travel experience.
The DOT reflective tape upgrades shown here are simple, affordable, and effective. Combined with proper inspections and towing practices, they provide an extra layer of confidence every time I hit the road.
As I continue transforming this trailer into a practical travel camper, I’ll be sharing additional upgrades, lessons learned, and real-world experiences here on RoadWiseLiving.com.